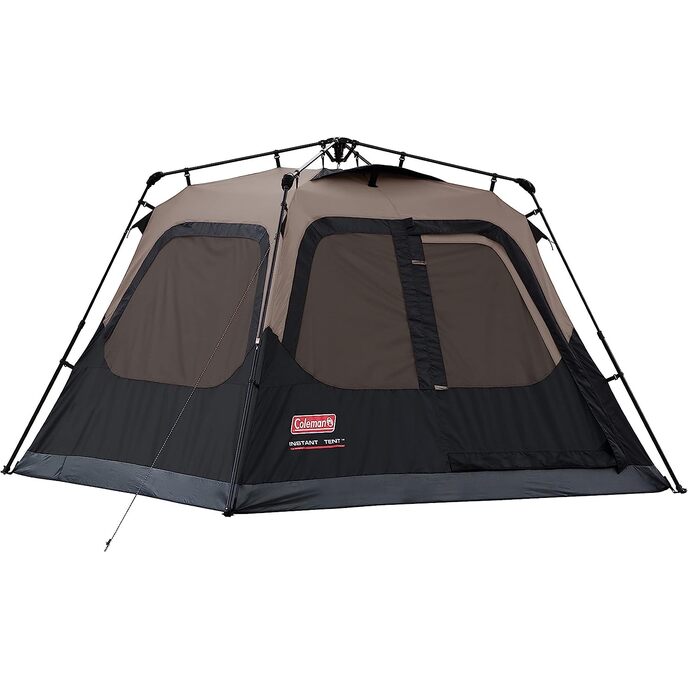
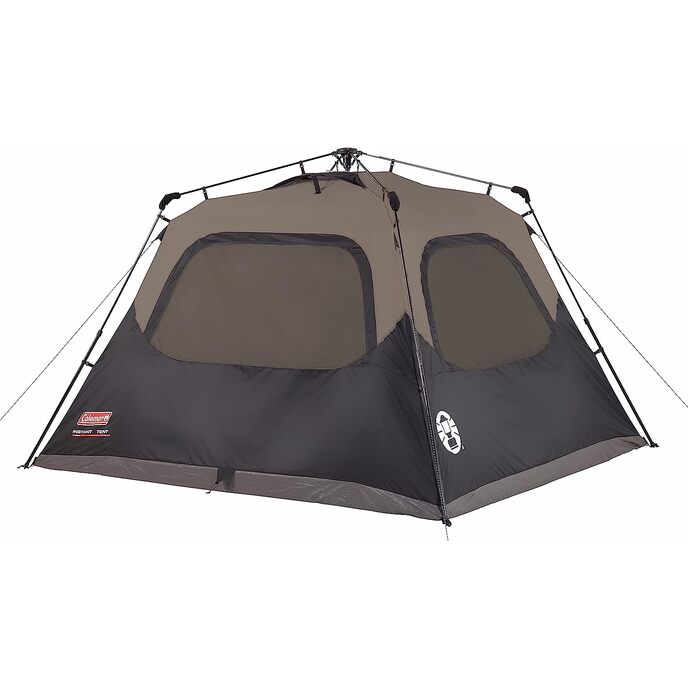
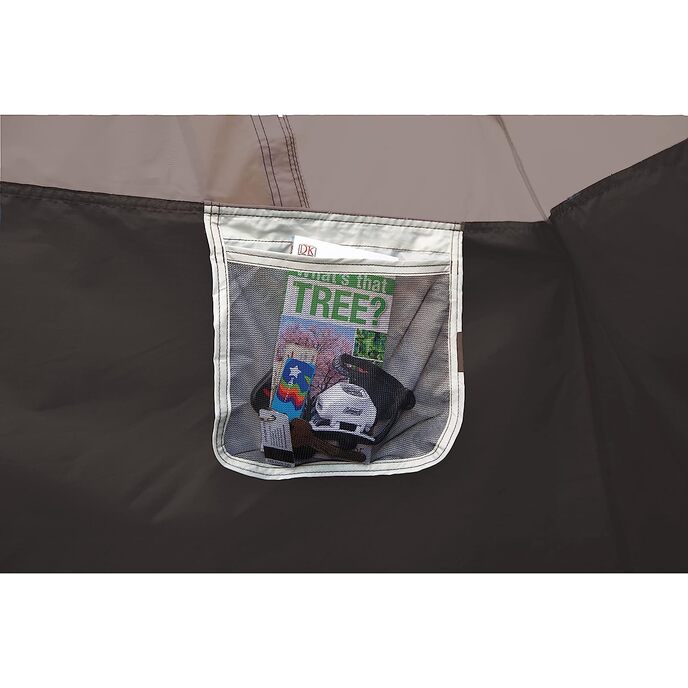
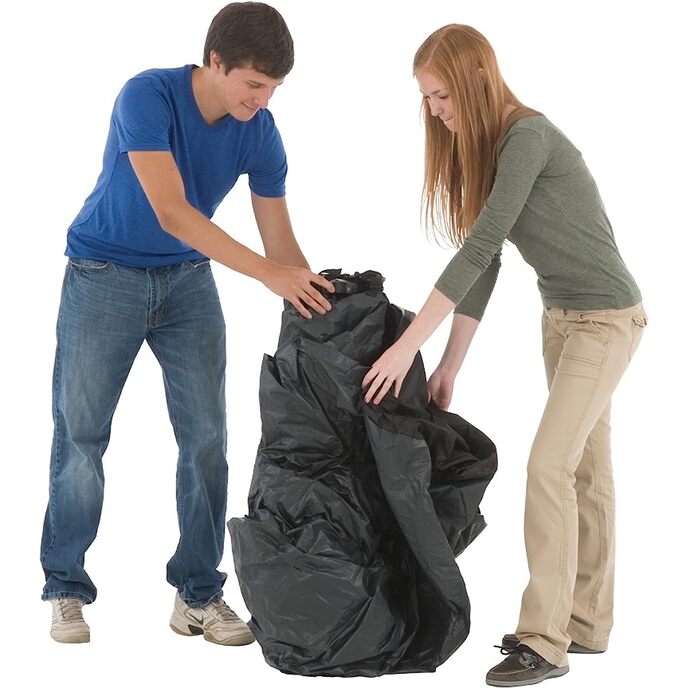
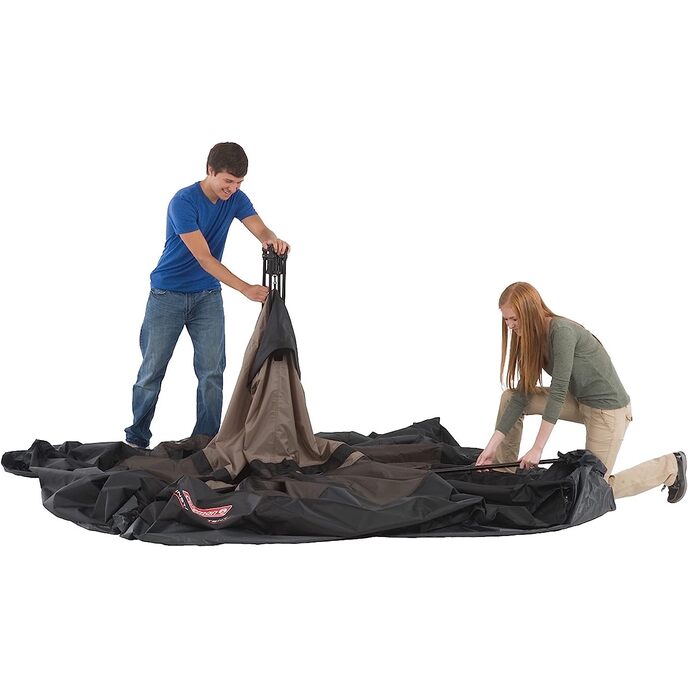
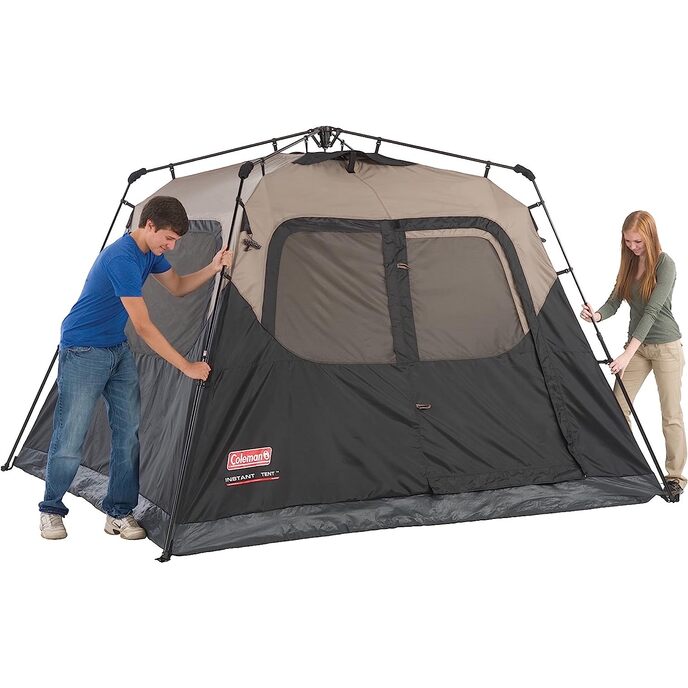
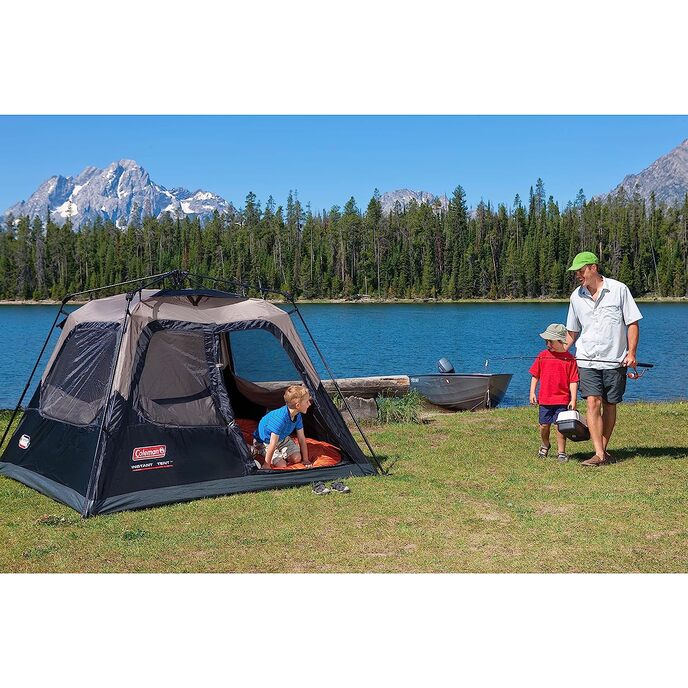
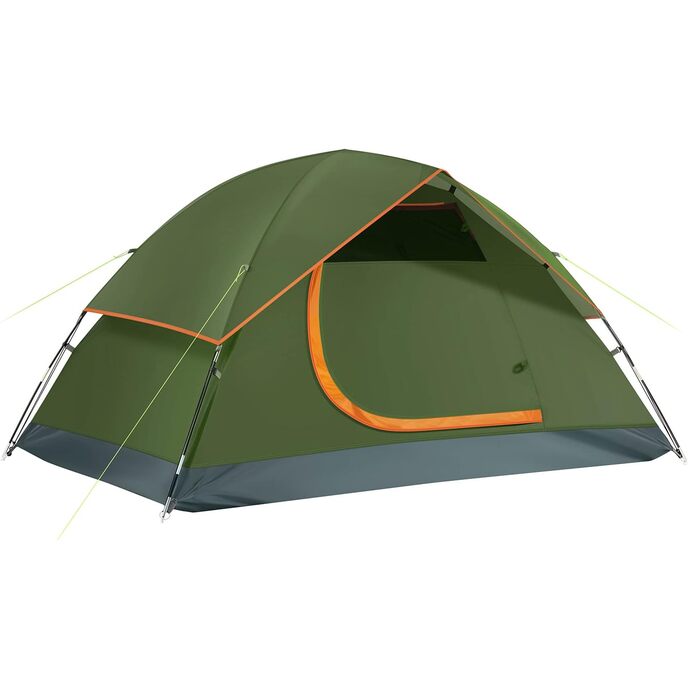
Tents come in many shapes and sizes, each have their positives, and their negatives. Some tents are cheap, while other's, really expensive. The best tent for you, is going to depend on what you need from a tent, and how much money you are willing to spend. Most people who like to camp in the summer time, will probably be satisfied with a tent like this one. While other's who camp in extreme cold temperatures, might be inclined to go with one of those super thermal padded tents. PACKAGING: Coleman loves to double pack these tents. When you receive your package, and open it up, it reveals the Coleman bag as seen in photo 1. If you unzip the Coleman bag, it reveals another box! Once you open up that box, finally, you will be able to pull your tent out of the box to begin deploying. DIMENSIONS: The dimensions of the tent are, 10 feet long, by 9 feet wide, and 6 feet tall. I chose a tent this big because I wanted enough space. However, they always overstate a tents capacity. It may fit up to 6 small children. But in reality, this tent can only house up to 4-adults, and up to 2-adults comfortably. PITCHING: Pitching the tent, is not as quick as the company says, which should be no surprise to no one. If you had 2-people working together, you could perhaps do it in 60-seconds. However, I pitched it all by myself, and it took closer to 2-minutes. When you compare this design to a dome tent however, you will take much longer to set one of those up. All you have to do, is stand the spider column (as I call it) upright, then unfold each leg, until the tent is flat on the ground. Then begin extending each leg of the tent, until the button snaps through the slots. Again, it will be a bit cumbersome for 1-person to do, however, still faster then setting up a dome tent. Once the tent is pitched, and you've stretched all the legs outward, then begin setting up your guidelines. If your tent is on earth, you can use the included stakes they give you, to stake the tent down using the guidelines. Additionally, if you plan to camp on days where it will be raining, you really need to waterproof the tent with the optional rainfly accessory, model 2000010331. The rainfly is nearly impossible to put on, via 1-person, once the tent has been pitched up. I recommend 2-people to install the rainfly. The rainfly secures to the tent via plastic C-clips. And the rainfly comes with its own stakes and guidelines, to secure to the earth. INGRESS: The tent has only 1-entry point, the front door. And unlike most tents, which the door spans the entire front half of the tent, this tent's door, only opens 1/2 of the front opening. I would have liked to have seen the full width being used. There are instant popup tents that are larger in size, that do use full width doors. As typical with all tents, it is double zippered, so you can close and open it from within. WINDOWS: This tent is fully loaded when it comes to windows! There is literally windows on every side of this tent, all of them have 2-zippers per window. Each window has a mesh screen to keep bugs out, and each can be rolled down and secured with the knobs they provide. The reason they didn't use the full width for the door, is because they wanted to put a window next to the door as well. So rest assured, if your camping in the summer time, you are going to get plenty of ventilation. VENTS: Now this is where I can be a bit nit picky when it comes to vent locations. On larger tents, they often put the vents close to the bottom of the tents, usually located in the back, or on the sides of the tent. But they chose to put the vents on the top of the tent on this model. I guess if your camping in the summer time, since heat rises, having them on the top makes sense. But if your camping in the winter time, its only going to let all the heat out. And if your running propane heaters, such as the buddy heater, you really want it to intake air from the bottom of your tent. Also, if you close the vents, there is still no way to make them seal in their closed position, so they will still vent when you don't want them to. The vents also come with zipper meshes, as well as the velcro strap that keeps them open. MATERIAL: The materials that this tent consist of, 150D Polyester, and Taffeta 150D. They use taped seams, inverted welded seams, and use rugged polyguard. I'm not an expert on tents, so I can't tell you the values of these materials, or how they are constructed. What I can tell you, is that no integrated weathertek system is going to completely waterproof the tent without the rainfly accessory. However, for a super light sprinkle, you can get away with it. For the most part, this tent feels like quality to me. A lot of times, companies will cheap out on the zippers, but these ones seem pretty good. The material makeup of the tent seems fairly solid, and the aluminum legs also seem pretty good. The spider column was fairly easy to work with when setting up the tent, so I think it is durable enough as well. Do I think the materials would hold up in winds up to 50MPH or more? No, absolutely not! But who's camping in stormy winds? ACCESSORIES: The tent comes with several accessory points that I like. Outside the tent above the door, there is a loop where you can hang a lantern, mosquito repellent, etc. Inside the tent are two mesh pockets, one close to the door on the side of the tent, and the other on the back half of the tent, on the other side. These mesh pockets can be used to store cell phones, keys, lighters, emergency supplies, pretty much anything you need small pockets for. The tent also comes equipped with a lantern hanger. But if your lantern only has a handle instead of a hook, you will need to use a carabeener to attach to the lantern hanger. EXPERIENCE: Most of you are going to use a tent to go camping. While I would love to go camping personally, I no longer have a vehicle, so I have no access to camping sites. Instead, I am thinking outside the box, and solving a problem I have. I lease my workshop, therefor I do not own the building. When you are leasing, its illegal for the renter to make changes to the building, its up to the person who owns the building to do that. The sheet metal roof of my workshop leaks when it rains. When it snows heavy, snow also falls in from the ridge cap. And since my shop is not insulated, it gets mighty cold in there during the winter time, there is just no way to heat it. NOTE: Absent T land owners are not fun. They don't consider you important, and they refuse to fix problems. But they love to go numerous vacations every year all over the world, with the money they make from your rent payments. Capitalism at work fellas. To solve this issue, I bought this tent, I knew that it would solve two problems for me. First, keep the rain off of my most important machines, and provide heat to keep the freezing cold at bay. Also, I wanted a space where I could do work in warmer temps. As you can see from the pictures, the tent fits the available space I have in the shop quite well. I ran an electrical cord up through the top vent, so that I can have power to run a light, space heater, and a charger. I used a 32-WATT LED worklight as my light source, I just used a small bungee cord wrapped around the light's frame several times, then put both the hooks onto the lantern hanger attachment. While it may be crude, it works, and thats all that counts. I run the space heater on low, its set to 65 degrees F, and it oscillates to move the heat around. When I am not working in the tent, I store my 2-best mowers inside, and a scooter. The mower closest to the camera, I actually bought on Amazon! I use an outdoor wireless thermometer to monitor the temp inside the tent, thats how I dialed in the heater. Also, to protect the tent floor from tearing, as I am moving heavy equipment in and out of it, I chose to line the floor with cardboard, and taped the cardboard together. And since I unfortunately d